Student Installation of ArcGIS 10.2 for GIS in Water
Resources
University of Texas at Austin
Prepared by
David R. Maidment
September 2013
There are five steps to this process:
(1) Get an ESRI Global Account
(3) Obtain an authorization number and the software
(4) Install the software and validate your authorizaton number
Here are the instructions for these steps:
If you already have a Username and Password for your ESRI Global Account, then skip this step.
If not, go to https://webaccounts.esri.com/CAS/index.cfm and choose Create an Account. You’ll be presented with a large screen with a lot of information that needs to be filled in. Fill out this screen and choose Create Account at the bottom. This will establish your User Name and Password for ArcGIS Online and for validating your software. If you have not yet emailed me your ESRI Global Account username, please do so now.
(a) Check the ESRI System Requirements to make sure your computer has the required hardware and software to support the installation of ArcGIS
http://resources.arcgis.com/en/help/system-requirements/10.2/
Be careful to ensure that your computer has the right operating system and also the necesssary Service Packs installed for that operating system. If you’ve had your computer for a long time and not installed any Service Pack updates, your operating system might not be up to date enough to run ArcGIS Desktop.
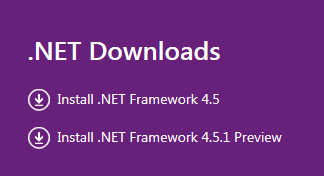
(b) If necessary, install the Microsoft .NET Framework. http://www.microsoft.com/net/download/version-4
(c) If you already have a previous version of ArcGIS Desktop installed on your computer, you’ll need to Uninstall it before installing the new one. To do this, Go to Control Panel/Programs and Features and right click on the icon for ArcGIS and follow the Uninstall instructions.
(3) Obtain an Authorization Number and the Software
I will send you a software authorization number with the form EVA123456789. This allows you to use one copy of the ArcGIS Desktop software and its extensions for one year on your own computer. Go to ArcGIS for Desktop Student Trial
http://www.esri.com/landing-pages/software/arcgis/arcgis-desktop-student-trial.html
and login with the Username and Password for your ESRI Global Account. You’ll be asked to input your Authorization Number and then Activate ArcGIS.

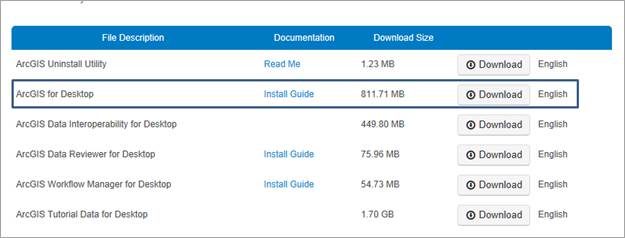
You will be presented with a choice as to Versions, choose Version 10.2

In the succeeding menu, select “ArcGIS for Desktop” Download (811 MB). This takes a little while.
You should end up with a single file that looks like this:

If you don’t succeed in getting this file at this location, students at UT Austin can get a copy of a backup file from the UT Dropbox https://utexas.box.com/ArcGIS can, which requires your UTEID and password to enter. Students at Utah State University should contact Dr Tarboton about getting a copy of the software, if necessary.
(4) Install the Software and Validate your Authorization Number
Double click on the file ArcGIS_Desktop_102_135756.exe and install it on your computer. This takes quite a while, so you might want to get a cup of coffee or do something while the installation goes on.
Immediately that your software installation has been completed, you’ll be presented with a ArcGIS Administrator Wizard screen. Select Advanced (ArcInfo) Single Use and you’ll see the button, Launch the Authorization Wizard for Single Use Products be activated.
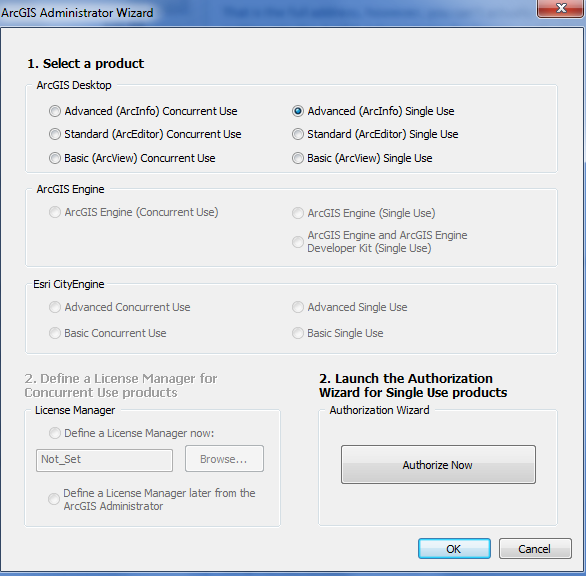
Hit Authorize Now and enter your Authorization Number
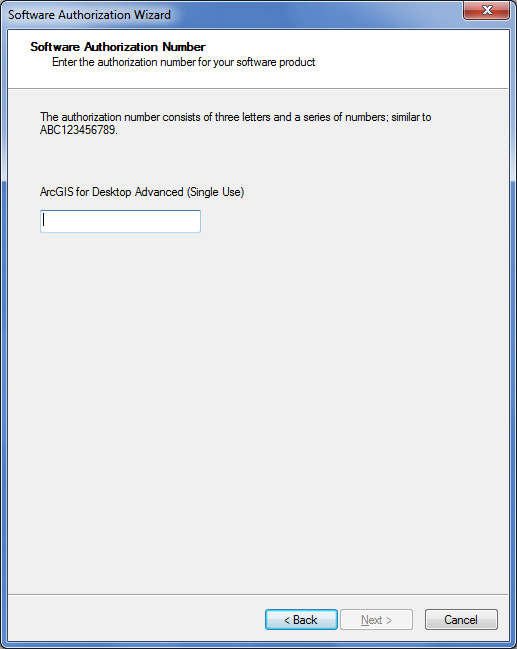
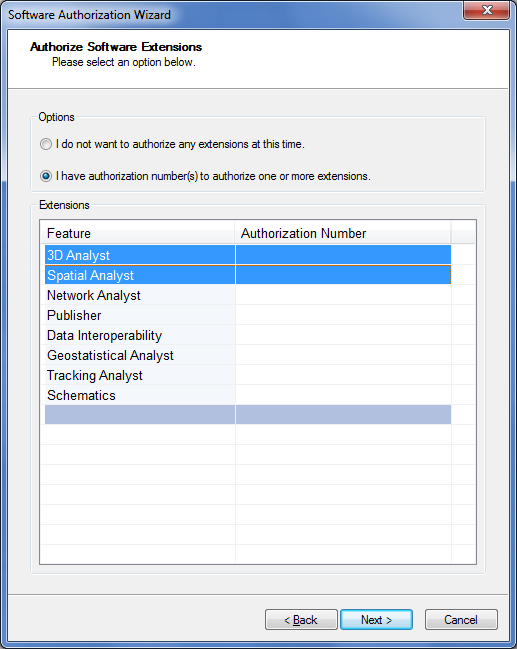
Enter the same Authorization Number to license the extensions to ArcGIS Desktop. You can license all the extensions if you want to. We’ll use Spatial Analyst and 3D Analyst in the class exercises and you may want also to license the Geostatistical Analyst. You have to fill in the right hand side box with your Authorization Number by each extension that you want to authorize. It’s not immediately obvious that this is necessary when the screen appears in front of you.
Finish this process and you are done!
Open ArcMap and select the A new empty map option. If you are using Windows 7 or Windows XP, hit the Start button and you’ll see a series of options for ArcGIS. Select ArcMap.
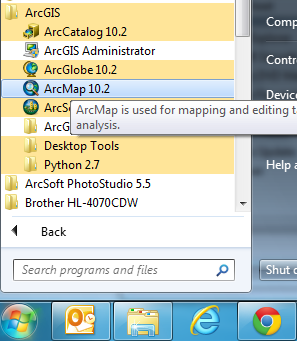
If
you are using Windows 8, you’ll see  in your Windows
display. If you don’t see that, then just type “ArcMap..”
and you’ll see the program symbol appear.
in your Windows
display. If you don’t see that, then just type “ArcMap..”
and you’ll see the program symbol appear.
Ok, you are good to go now!